self teaching guitar


description


One grad course I took at MIT, How to Make (almost) Anything, celebrated digital fabrication and taught you how to bring anything you can imagine to life! Makerspaces were utilized heavily to take on weekly design challenges that required incorporating a growing toolkit of fabrication techniques. Final projects used all techniques covered. Mine was a self teaching guitar - including a CAD-designed and laser-cut guitar body with a custom LED fretboard and wifi-connected web app. The app guides new guitarists through chords and songs. Selecting a chord/song option on the app would light the corresponding fret/string on the fret board, making it easier to learn and to play along. You can find all of my documentation for the class here !


skills used/developed


- PCB design and fabrication
- sensors and actuators
- mixed-signal instrumentation
- embedded processing
- wired and wireless communications
- CAD/CAM/CAE
- NC machining
- laser and waterjet cutting
- 3-D printing and scanning
- molding and casting
- Arduino


documentation


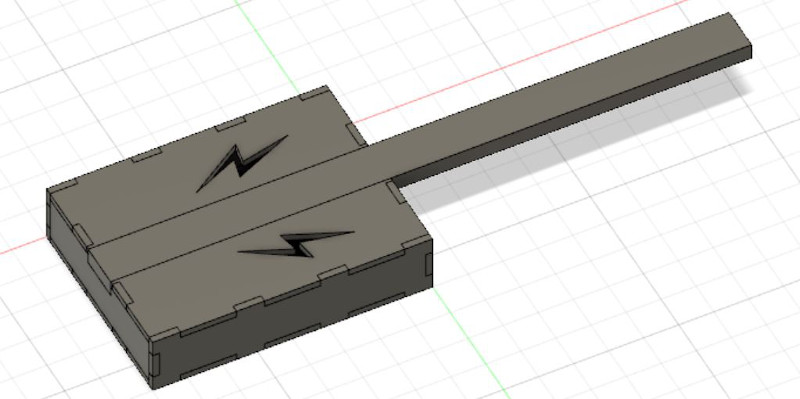
I started by designing the guitar body with CAD in Fusion360. I decided to simplify the body shape and make it rectangular rather than round. This saved time and allowed for easier machining without sacrificing sound quality.


Guitar Body

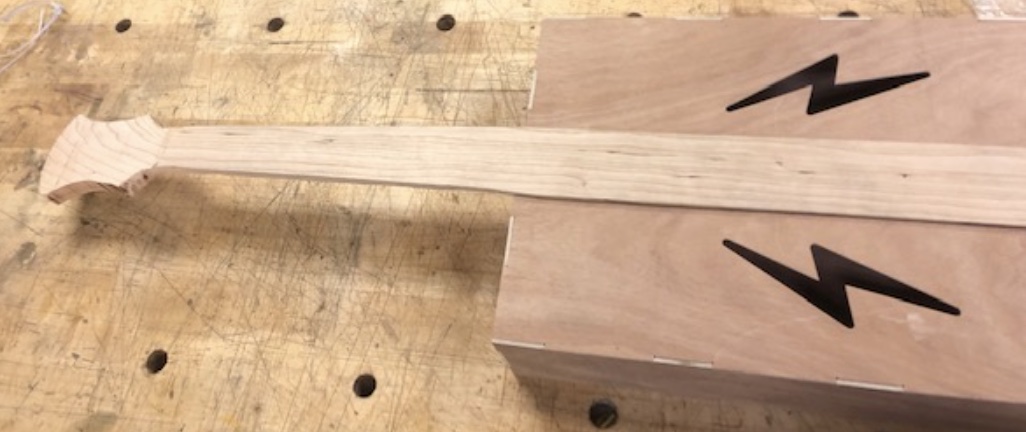
The body was laser cut and press fit together. Cherry was chosen to form the guitar neck since it's a hardwood and the strings will add a lot of stress to the neck. A band saw was used to create the slant for the top of the neck/head. A combination of band saw, filing, and sanding was used to create the proper shape of the neck.


Guitar Body and Neck

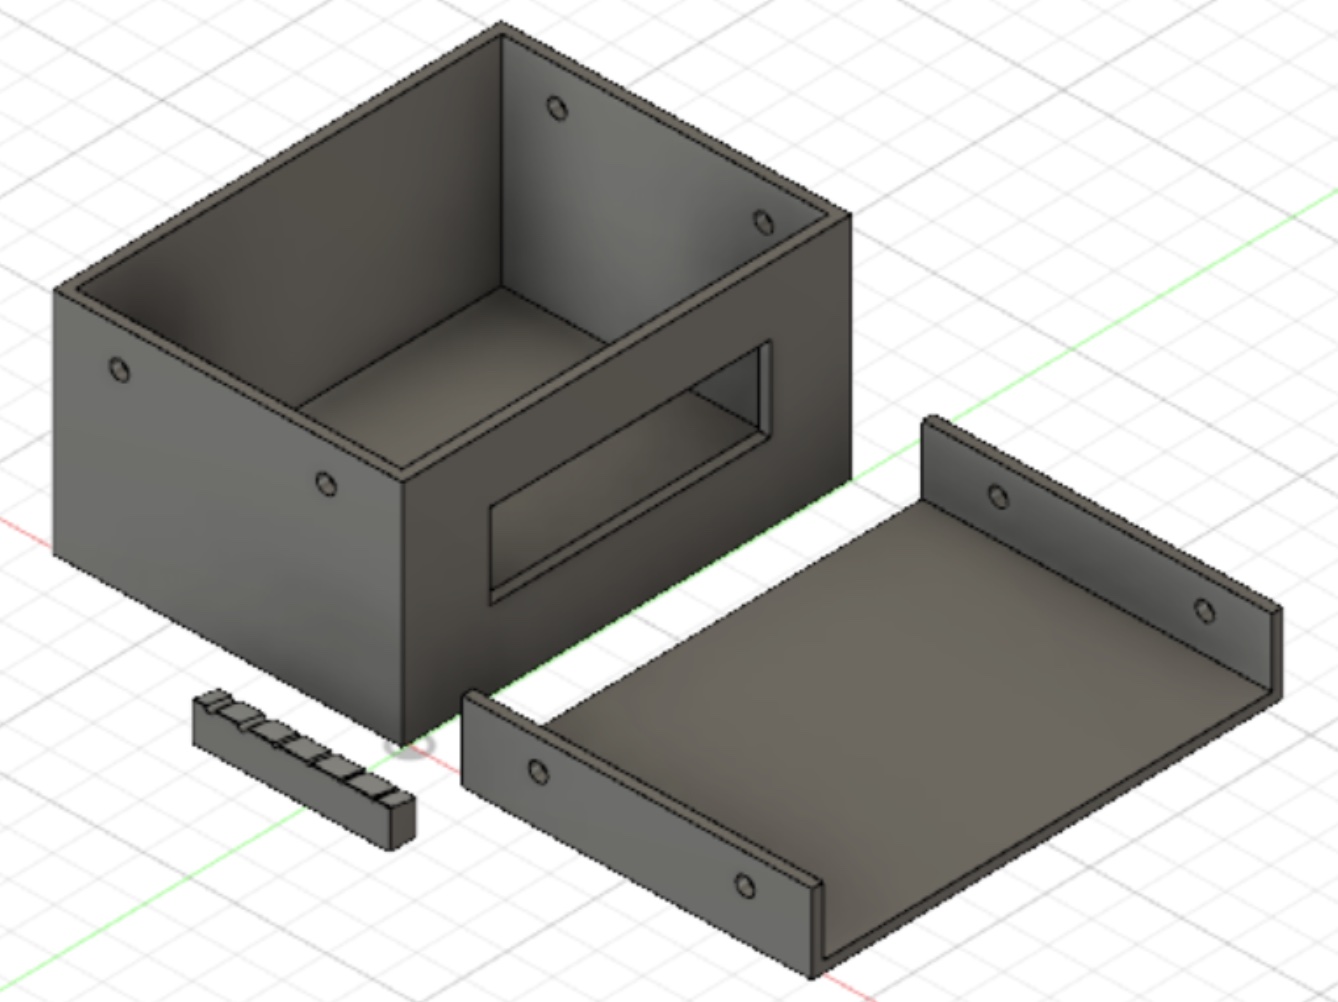
CAD and 3D printing were used to create the housing for the electronics.


CAD Electronic Housing

I wanted to embed an LED under each fret/sting so that users can use the app to select a chord or song and the LEDs on the fret board would light up in a way that shows the users where to press to play the selected chord/song. To allow for more flexibility in the electronics/circuitry, I vinyl cut the circuitry for the fret board LEDs. To power and control the fretboard LEDs, I used an esp32 board and a web interface. I designed my boards for PCB milling in Eagle.


Eagle


ESP32 Board

Arduino (and a wifi connection) was used for communications between the ESP32 board and the web app and for the logic that determined which LEDs to light and when.